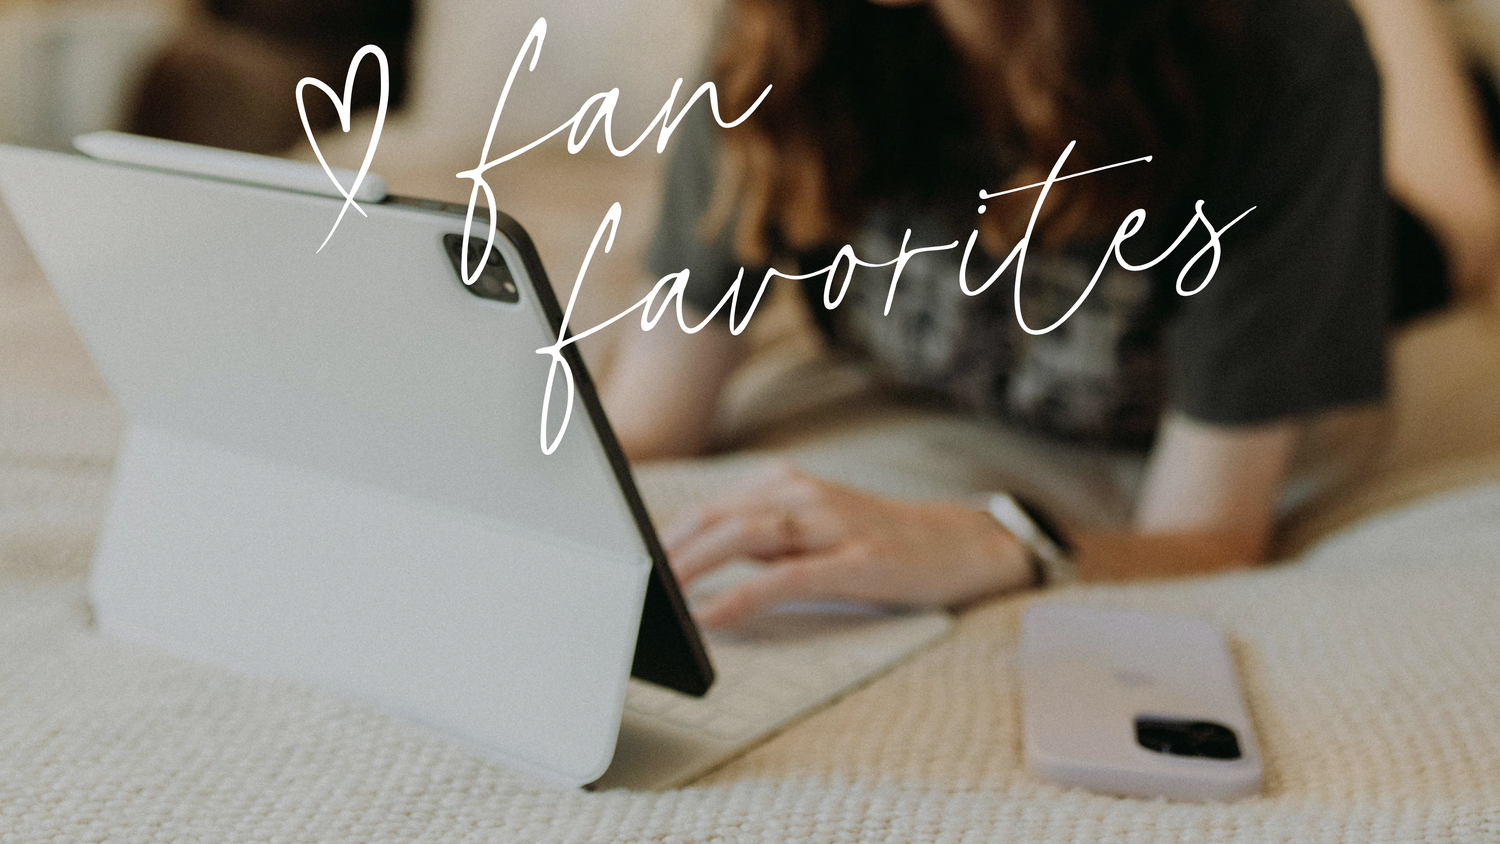

One of the best things about digital planning is stickers. Using stickers in your digital planner is just like using stickers in a paper planner. There are decorative ones, so you can create a specific theme, or functional ones that can be used for things like appointments, tracking habits, holidays, and things like that.
Digital stickers, however, are easily reusable and you can use them over and over again. And you can even move the stickers around if you don’t like the placement! Here's everything you need to know about digital stickers.
Individual PNGs
Digital stickers, if you purchase them, are typically delivered in three different ways. First is as a transparent PNG. Typically, they are all zipped in a folder together. So you can split-screen that folder and your digital planner to drag and drop the stickers over.
Precropped GoodNotes Sticker Sheets
The second way, which is probably the most popular way in the digital planning community, is with something called precropped sticker sheets. Or stickerbooks. This is a PDF file that was imported into GoodNotes, and then the sticker creator added those stickers on top of the sheet or stickerbook, and then exported it as a GoodNotes file for you to later add to your GoodNotes app. And then similarly to using the folder, you can use this sheet to copy and paste the stickers over into your planner.
GoodNotes Elements Collections
And then the third way, the least popular way, at least for now, is an Elements collection. This is, again, using GoodNotes specifically. The sticker creator adds their stickers to an Elements collection in GoodNotes and then shares it so you can later add it as a collection to your Elements in GoodNotes. If you’re not already familiar with Elements in GoodNotes, I do have a video that goes in-depth about Elements, what they are, how to use them, when its best to use them, and some tips and tricks.
Creating Sticker Sheets in Keynote
In this post, I am sharing how to create a branded digital sticker sheet or stickerbook that you can add your digital stickers to to either sell or give away to others who want to use your GoodNotes digital stickers. I’ll be using my iPad, my Apple Pencil, and the app, Keynote. But you can use apps like Affinity, or Procreate, even, Canva. There’s a number of apps you can use to create a branded sheet. So let’s get started!
Step 1
Start with a blank template, whether that's in Keynote, Canva, or Affinity. The size of the template is not the most important detail. Since these templates will be used digitally, the size doesn't matter. I typically use US letter size or go with 1200 x 768, which is the same dimensions of most digital planners I create. The orientation is also your decision to make. I've done both landscape and portrait sticker sheets, and find that I most prefer landscape since that is how I tend to use my iPad.

Step 2
This step truly comes down to how to prefer to design and showcase this sticker sheet. But you might want to add your business logo or website information. Be sure to not take up so much space adding in your logo or other designs since you'll want to leave plenty of room to add the digital stickers later.

Step 3
Once you're finished, export the template as a PDF. You've just completed your digital sticker template! You can now reuse this PDF any time you have a digital sticker set to launch!
Step 4
Import your PDF into GoodNotes. Split-screen your template in GoodNotes with the location of your digital stickers -- iCloud, Google Drive, your camera roll, etc.

Step 5
Drag and drop the digital stickers you created over to your sticker sheet template. Resize and adjust the placement of the stickers on your sticker sheet. Repeat this step until you have moved over all of your stickers.

Step 6
With your stickers placed and sized how you like on your sticker sheet, it's time to export the file so it's ready for your shop! In GoodNotes, export your sticker sheet as a .goodnotes file. This is very important! If you export it as a GoodNotes file, other GoodNotes users will be able to import this into their GoodNotes app and copy, paste, and move these stickers around. If you export it as any other file type, they will not be able to copy, paste, or move the stickers. Again, be sure to export as a .goodnotes file!

And that's it! You created a precropped digital sticker sheet for GoodNotes. Precropped digital sticker sheets are incredibly convenient for digital planning, and it's a great offer if you create and sell digital stickers. If you're still learning how to draw and create digital stickers on the iPad, I do already have multiple tutorials, like this one and this one, on creating different digital stickers on the iPad.
Examples of Precropped Sticker Templates


1 comment
Thank you for this!